
How to transplant mums may be on some gardener’s mind. Many factors are involved in transplanting mums, such as location, soil preparation, mulch and fertilizer, and many others.

The best time to transplant the mums is late summer to early fall because lower temperatures and ideal sunlight are vital for root growth and development. Let’s dive into it and explore other captive tips to grow potted mums of the Asteraceae family.
How to Transplant Mums Hassle Free?
To transplant mums hassle-free, you first have to select the best variety of mums. Then, you must acknowledge the type of mums. Later, it is essential to find out the right time to transplant the mums before final transplantation.
So it’s up to you what kind of mums you want to transplant into your eye-catching garden or landscape. Let’s discuss what exactly we need for growing mums and preparing them well during transplantation.
1. Select the Best Mums
Success starts with choosing the best chrysanthemum. The word chrysanthemum comes from Greek, meaning a golden flower. Chrysanthemum is available in multiple colors and shades. There is no difference between a chrysanthemum and an average mum.

You can choose a mum from every big supermarket or store in the summer season to create potted mums in your landscape. For best results, you can consult with a professional gardener. In addition, you can visit the local nursery because they have a more extensive selection than supermarkets.
Whenever you shop for mums, always avoid buying wilted plants and look for fresh ones with more buds than open flowers because they will perform well when you plant them in a pot.
2. Pay Attention to Mum Types
As mentioned, mums have thousands of types, so finding the right one can be daunting. But not anymore. Let’s make it simple: If you want to decorate your front porch, Florist Mums is your best choice. Florist mums can be used for short-time bedding plants because they cannot survive in freezing temperatures, so if you are planning to transplant the mum for a long time, then florist mums are not for your beautiful garden or landscape.
Consider garden mums if you want to transplant the mums for an extended period. These mums are known as hardy mums. They can survive in the winter season and increase the radiance of your home garden. In addition, you can increase the life of these mums by planting them in spring after the last frost date in your region.
3. Choose the Right Time
Spring is the best time to transplant mums because mums cannot survive in winter. But, repotting chrysanthemums is timed differently because the mums blooming time differs entirely from other plants. The best time to transplant the chrysanthemums is autumn because, at this time, plants grow more actively.
4. Find the Perfect Spot
Select a sunny location because mums need 6 to 8 hours of complete sunlight with well-drained soil. Mums love sunlight because it increases in proper daylight. Always find that spot where you can reach quickly because, in the beginning, you have to visit daily and monitor the overall progress.
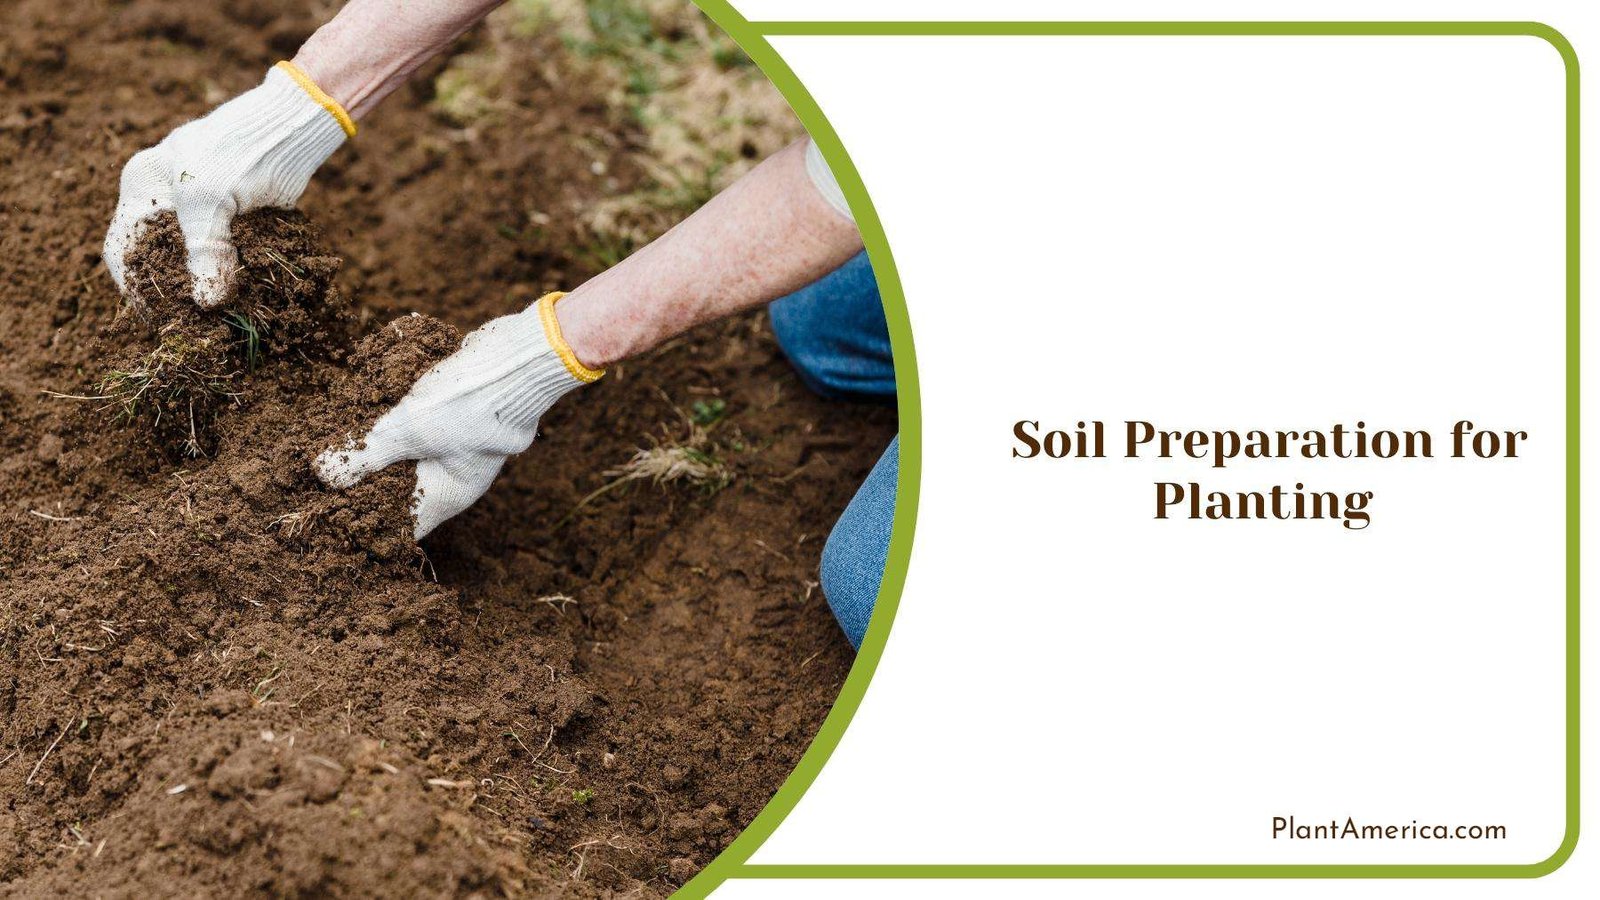
5. Soil Preparation for Planting
Soil preparation is essential to get better results and growth. Before transplanting, it is crucial to do a proper soil test to examine your selected soil’s nutrients and pH levels. Mums love to grow in slightly acidic soil with a pH level of around 6.5.
6. Wipe Out the Grass
Remove any grass and rocks from the transplanting area. Protecting your mums from all sorts of weeds and harmful insects is essential. Proper cleaning will help you achieve better results and provide a clean start to your new mum’s bloom.
7. Dig Carefully for Mum
The most crucial step is digging; you must create a hole according to your needs, and a shovel is the best tool for exploring the gap. The ideal spot should be two times wider than the bare root, and ensure the hole depth is 10 to 12 inches deep.
8. Planting Techniques
Hold the mum by its root because roots are delicate, so treat it like a VIP. Place the mum carefully in the hole and ensure that everything goes well. Once you place it, fill the soil with and pat it gently. The water you freshly transplant, mum, because it is vital to keep the soil moist in the first few weeks.
9. Create a Mulch Around Mum
Mulch is the best gardening savor; it protects plants from insect attacks and applies to all kinds of plants. For mum transplantation, you need to pick excellent quality mulch. So, before you lay any mulch down, determine your plant needs and choose according to that.

Two types of mulch are used in gardens: organic and 2nd is inorganic. Both mulches are good for improving soil moisture and preventing your plants from aphid attack. Black plastic is a popular kind of inorganic mulch and very suitable for mums, so you can try this to protect your young transplanted mums from diseases.
10. Proper Cutting
When small-flowered are 6 to 8 inches high, cut a bottom green area to encourage the branches. Because when you pinch, new additions will develop along a stem and help mums to grow decently.
Stop cutting when the mums are increasing because it’s flowering time. Always cut the green area carefully because it will die if you miss the plant’s root. This cutting also saves mums from diseases and aphid attacks.
11. Maintenance
Without proper care and attention, mum cannot grow, so as mums grow, give them fresh water, especially when you feel the soil is trying. You can fertilize your plant according to the recommendation of the fertilizer label. Mums are complex, but proper care, water, soil preparation, and maintenance will improve their health and vigor.
How to Keep Mums From Turning Brown After Transplanting
To keep mums from turning brown after transplanting, be sure to give them enough water and that they’re in a spot with enough sunlight. Also make sure you plant them in good soil so that they get all the nutrients they need after the transplant.
Here are some fantastic tips to help prevent your mums from turning brown. Browning may be an issue if proper care is not taken right after transplanting, therefore, it is addressed in this article.
– Only Use the Recommended Soil
Always use rich soil with filled nutrients to keep mums from turning brown in the house of mums, so a healthy home is vital for outstanding production. If you are still determining what soil is best for mums, consult a professional gardener or use the soil recommended for vegetable growth.
Poor soil is the main reason for turning brown mums. We use vegetable soil because this soil has everything that mums need for solid growth and colorful blooms.
– A Correct Watering Routine Is Essential
Although mums are not water lovers and don’t want to sit all day in it, it does not mean they don’t need water. Proper watering is vital for their growth, and it helps to make them robust and leaves a good impact on overall health. In addition, if you live in a climate zone where you receive a lot of heat, your plants need water twice daily.
In this condition, you can use the Mulch to protect them from moisture, keeping the soil cool and preventing other harmful diseases.
– Be Careful With the Fertilizer
You don’t need to fertilize your plants within the first two years of transplantation. After that, you can start fertilizing according to recommendations. A 6-2-4 or 4-2-3 fertilizer is ideal for mum plants, and this should be well diluted and applied at the rate of 1 lb per 100 square feet.

However, if you pinch off their green area, chrysanthemums need a little attention. Remember one thing: if you live where you face warm temperatures with a dry summer, the mum flowers will appear later compared to other climate zones.
– Dealing With Pests
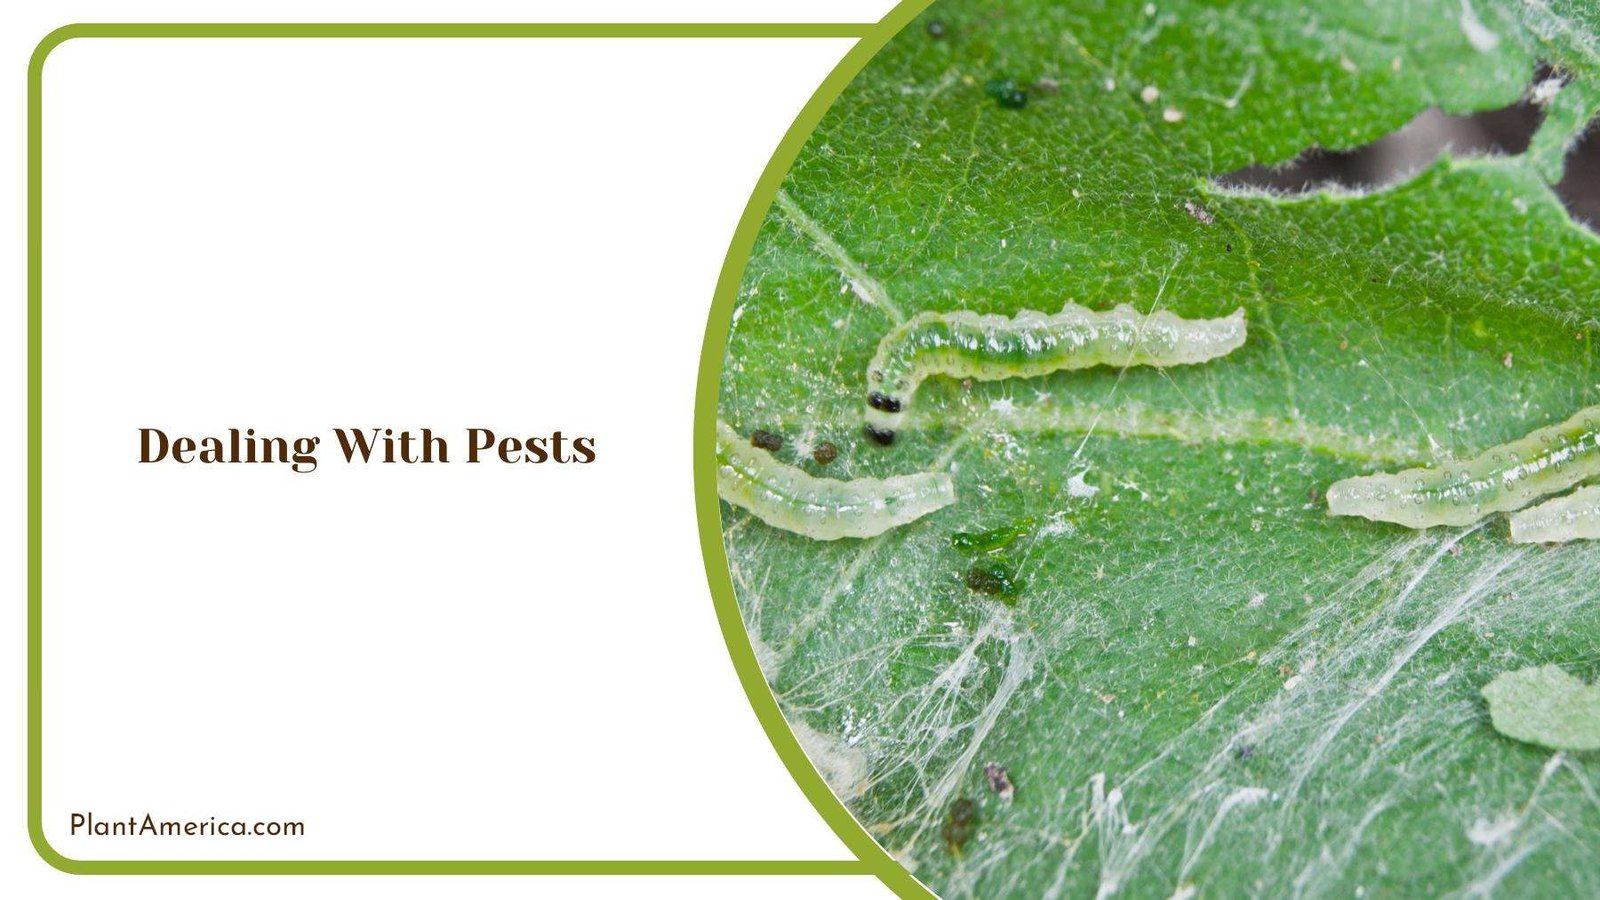
Pests and diseases can turn your mums brown if left unchecked. Many diseases, such as powdery mildew and leaf spot, affect the plant’s health. As we mentioned before, mums need proper light. Please don’t keep them in shadow locations because by doing that, pests can attack and damage mums’ flowers and stems. A pest can also be a deer that will damage your mum.
Different pets attack mums, such as aphids, leafhoppers, leafminers, plant bugs, and spider mites. The best solution to prevent your mums from these attacks is to use organic pesticide spray. You can use this spray once a year, and your mums will never turn brown.
– Monitor Your Plants
Every living and non-living thing needs proper care and attention, so plants cannot live without appropriate supervision. They wilt and eventually die. Keep a close eye on mums over the next few weeks, and if you notice any browning, take severe action and consult with professionals.
With proper care and attention, you can successfully reduce the risk of browning up to 80% and establish mums in a new location. Daily monitoring will give you an idea if there is any alarming situation out there.
Implement all these techniques and keep your garden or landscape healthy and filled with multicolored plants and fruits.
Frequently Asked Questions
– How To Transplant Mums in Pots
To transplant mums in pots, choose the pot that is at least 3 to 5 inches larger than the bare root ball of the mum. Make sure that the pot has drainage holes to prevent waterlogged soil. Plant the mum and add the ground around the pool.

– How To Separate and Replant Mums
To separate and replant mums, create a hole around the plant, and use a sharp and sterilized knife to cut the mums and replant them in a new location. Water the new replant mums to settle the soil around the roots.
– Can You Replant Mums in the Ground?
Yes, you can replant mums in the ground. Spring is the ideal month for transplanting the mums so you can replant them in the ground. First, you have to create a hole that should be larger than the bare root. Place the mums and add some soil around the plant.
– How to Transplant Mums During the Fall
To transplant mums during fall, prepare a location with full sunlight and well-drained soil, create a hole up to 12 inches, and place the fall mums gently inside the hole. Tamp lightly to protect your new mums from high-pressure air.
– Can You Transplant Mums in the Spring?
Yes, you can transplant mums in spring easily. Spring is the ideal month for transplanting the mums, and if you transplant in this month, they grow readily and stay healthy throughout the year. Just remember to keep them in the right shade and water as needed.
– Can You Divide Mums in the Fall?
No, you cannot divide mums in the fall because this is not the right time for division. If you separate them, they will wilt and eventually die. Steer clear of carrying out this activity during this time for the health of your plants.
– Can You Divide Mums in the Summer?
No, you can’t divide mums in the summer. This is not recommended since the heat can harm plant health and reduce overall health. Warm spring is, hence, also not included in the ideal season of when to divide the mums.
– Can You Transplant Mums in the Summer?
Yes, you can transplant mums in the summer after frost danger has passed, and summer is just the right time to do it since there is no danger of the harsh winter. So, you can transplant mums in summer, and they will grow effectively.
Conclusion
Mums are beautiful flowers that come in multiple colors and sizes as well. They become more attractive due to their multi shades.
- You can visit the supermarket or nursery to purchase the mums and transplant them into your garden and landscape.
- When your transplant mum, ensure the sunlight is enough because these plants require a minimum of 6 to 8 hours.
- You will get a better result with proper care and attention, improving the plant’s health.
Now, apply these techniques and tricks and add a new royal guest to your garden. We have discussed everything in detail. I hope you liked the information.