
How to transplant bee balm of the Lamiaceae family could be your favorite thing to do in the garden because of its simplicity. Start by preparing the new site to plant the flowers and remove the plants from the containers. Then replant them in the new holes and irrigate.
 Continue reading this complete guide for some tips and tricks!
What Are the Factors To Consider When Transplanting Bee Balm?
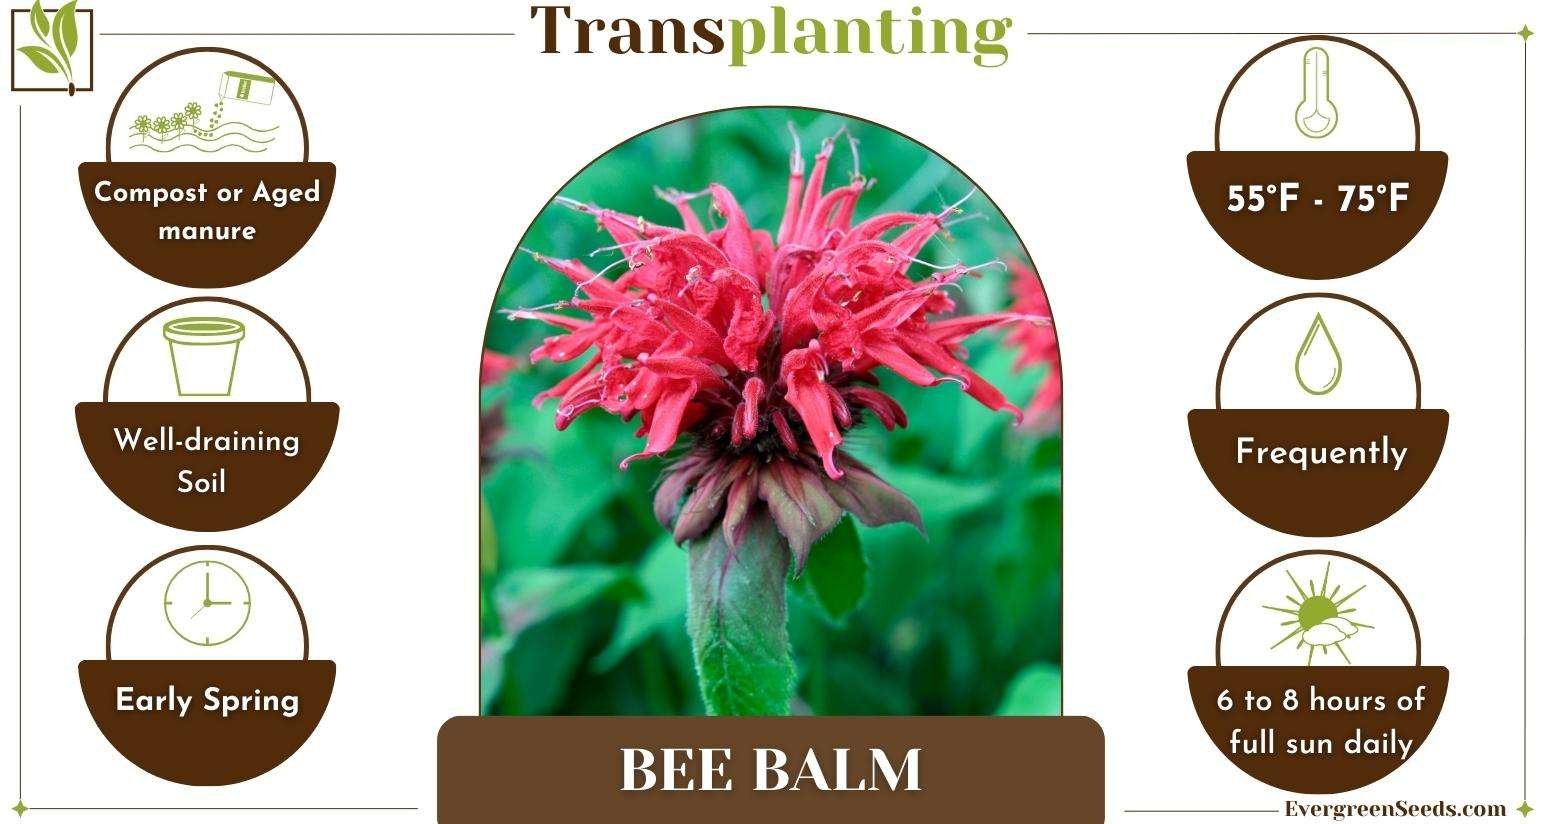
The factors to consider when transplanting bee balm plants include choosing the best time to transplant, which is in early spring, as well as providing the correct type of soil, pot, and temperature requirements. In addition, you will also have to water them frequently and provide bright light.
Bee balm plants are easy to transplant, but they require certain conditions to survive. Transplanting them in summer could be successful, but they might not survive the season because of the hot climate. See more factors to consider below.
– The Best Time to Transplant
Bee balm plants, also called monarda didyma, prefer being transplanted in early spring. The flowers are still growing during this time, meaning their roots will continue growing in the new site and establish themselves. Besides, the weather is cool during the season, allowing the plant to grow uninterrupted.
However, you must also choose the right time of the day to replant horsemint. Transplanting in the morning of a cloudy day would be perfect for the plant. The flower will receive direct light without leaf scorching, which helps with continuous growth.
But, if the temperatures are high on the transplanting day, consider doing it in the late afternoon. This ensures the newly planted flowers will settle in without stress from the hot afternoon sun, so they will suffer less transplant shock.
Can you move bee balm in summer? This is one of the frequently asked questions whose answer is yes. But only transplant the flower after it finishes blooming. Also, consider doing it at the onset of summer when the sun is less hot to prevent transplant shock.
Can you transplant bee balm in the fall? Transplanting bee balm in the fall is possible, but ensure you plant it in an open area with well-draining soil. You should also remove the foliage for the plant to channel all its energy into rooting.
Transplanting some plants in winter would be great, but it doesn’t work for bee balms. The cold season stops root growth, so the flowers will take longer to establish in the soil.
– Soil Requirements
Before planting bee balms, ensure the new location has the right soil conditions. The flowers thrive best in moist, well-draining soil that doesn’t dry fast. They appreciate moisture throughout their growing season and, although drought tolerant, avoid keeping them in overly dry soil.
The soil you plant bee balms in should also be of neutral PH. Acidic or alkaline soils will shorten their life span and could also kill the plants. Another factor to consider when choosing the soil is nutrients. The ground must be rich in organic matter to supply the flowers with nutrients. If not, use compost or aged manure to make the area suitable for your flowers.
Avoid growing bee balm seeds in waterlogged soils. Letting the flower’s roots sit in stagnant water could lead to root rot and pest infestations. This makes the plant weaker and more vulnerable to other diseases like powdery mildew.
– Watering Before and After Transplanting
Water is important for plant growth and helps make the transplanting process easier. Water bee balm soil a day before transplanting it. The moisture makes digging the ground easier, so you will get the plant’s root ball out of the soil easier. If the flower grows in a container indoors, watering helps the soil detach from the container walls.
Watering is also essential when dividing horsemint roots. When grown together, the tiny flower plant roots intertwine in the soil, and as the soil dries up, they become harder to separate. But you can easily separate these plants in moist soil without breaking them.
Another reason to water bee balms before transplanting them is to keep them fully hydrated. Uprooting the flower from the soil stops water absorption in the plant. The roots will stay for a few days without absorbing water because they haven’t established themselves in the soil, dehydrating the flower. But since you watered it before uprooting it, it will survive on the moisture.
Once you have transplanted horsemint, ensure you water it more frequently than before. Water helps to heal transplant shock and keeps the soil moist and easy for penetration by the growing roots. These flower plants are drought resistant, so reduce the watering after they start growing.
– Temperature Requirements
The ideal temperature range for transplanting bee balm plants is generally between 55 degrees Fahrenheit to 75 degrees Fahrenheit (13 to 24 degrees Celsius). Transplanting during these moderate temperatures, such as in the spring or fall, helps minimize stress on the plants, allowing them to establish their roots more effectively.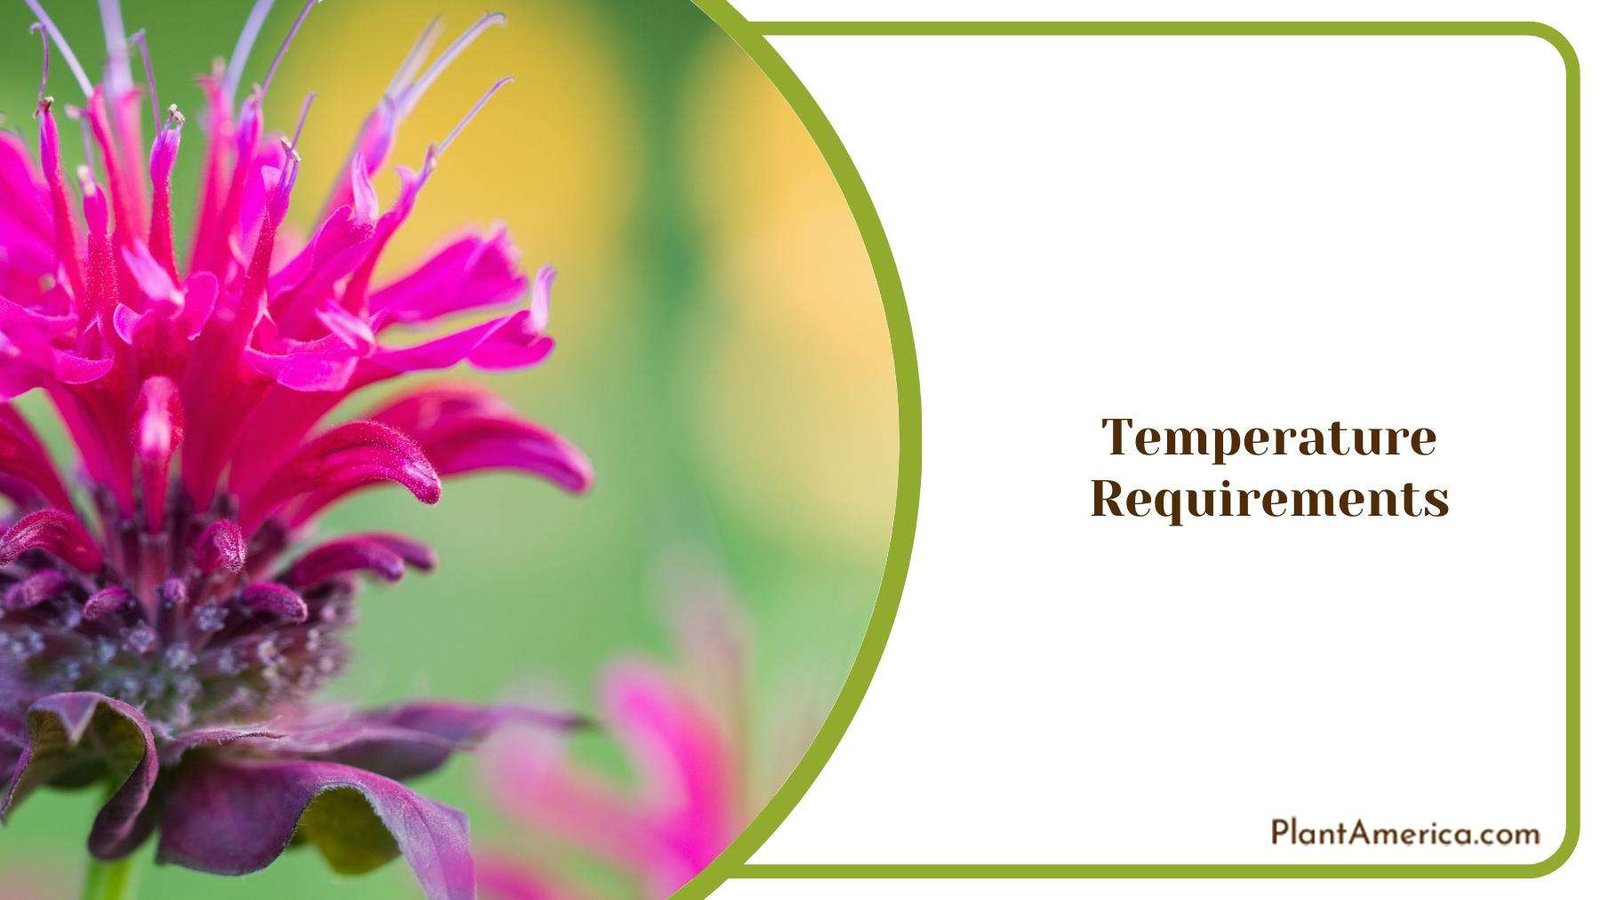
Be sure to avoid extreme heat or freezing temperatures when transplanting bee balm, as these conditions can cause undue stress to the plants and hinder their successful establishment.
– Proper Pot Needs
When transplanting bee balm, space the plants about 18 to 24 inches apart. Giving them ample space allows for air circulation, reducing the risk of fungal diseases. Proper spacing also prevents overcrowding, allowing each plant to develop fully.
– Light Requirements
Bee balm grows best when exposed to six to eight hours of full sun daily. However, you also need an area with partial shade to protect the flower leaves from getting scorched by the sun.
Light is essential because it helps with processes like photosynthesis, which makes energy for cell division. This leads to plant growth and development, which every gardener wants. Without light, the plants will be leggy and have stunted growth.
If you grow scarlet bee balm indoors, place the container in a well-lit window. This allows it to get the essential amount of light throughout the day. If your bee balm flower grows outdoors in a container, ensure you transfer them to a shaded patio if the sun is very hot. This protects the leaves from scorching.
How to Transplant Bee Balm Plants in Easy Steps
To transplant bee balm plants in easy steps, start by preparing the next location before uprooting the plant. You will then remove the flower from the current container, separate the roots, and plant it in the new site. Make sure to closely observe it in the upcoming days.
Whether transplanting scarlet flowers from one container to another or the ground, you will have an easy time with this guide.
1. Choose the New Planting Site
When transplanting flowers to a new container or ground, choose a site with all the suitable growth conditions. These include the right amount of light, water, and the best soil. It ensures that your wild bergamot, red bee balm, or deadhead bee balm survives the transplant and continues to grow. However, remember that bee balm varieties might have various requirements.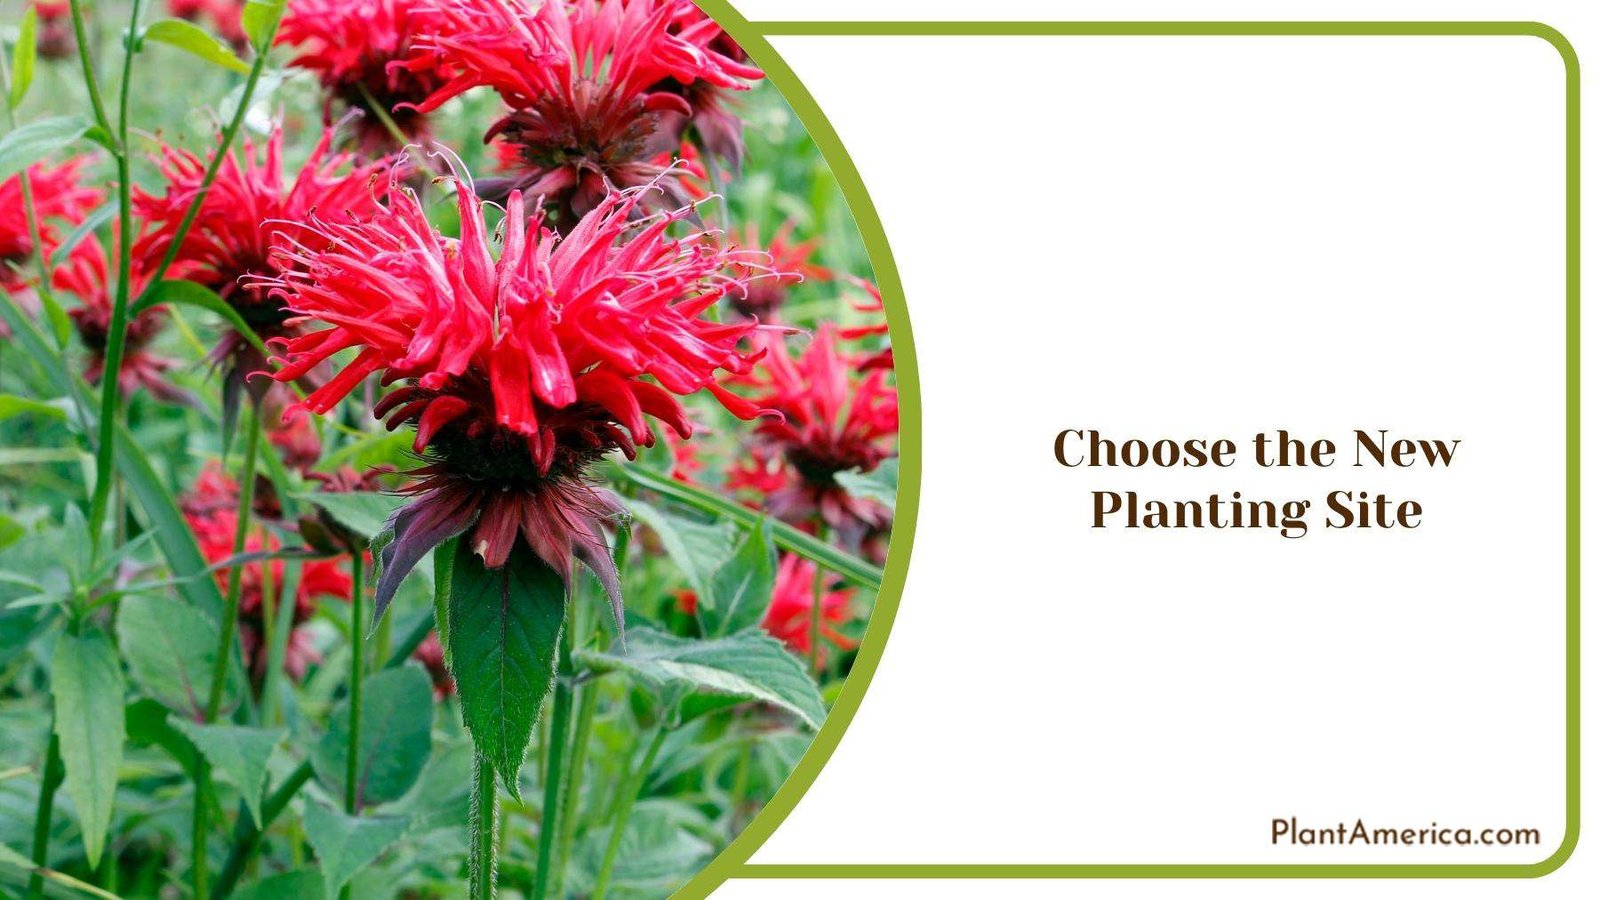
Another tip when choosing a container is ensuring it is twice as big as the previous one to provide enough space for the flower growth. If digging a hole, make a big one to ensure enough space for the flower to thrive.
Also, choose a bigger area that can fit companion plants. Purple coneflower, lavender, borage, and black-eyed Susan complement bee balms because of their different flowers. And since these flowers attract bees that help with pollination, you can also grow peppers and cucumbers in the same garden.
2. Prepare the Space
Once you have identified a location, prepare it for the plant. Remove weeds and debris, and fill it with the suitable soil. You should also mix the soil with compost and other organic materials to help with the flower growth.
The next step is watering the soil. The moisture prevents transplanting shock, which can kill flowers, and also helps soften the soil to help the plant roots penetrate easily. The wet ground will also make it easy for plants to absorb mineral salts and nutrients from the soil.
3. Remove the Flowers From the Small Containers
The most essential and delicate stage of transplanting bee balms is removing them from the old container. Carelessly removing the plants could injure the roots or cut the shoots, leading to plant death.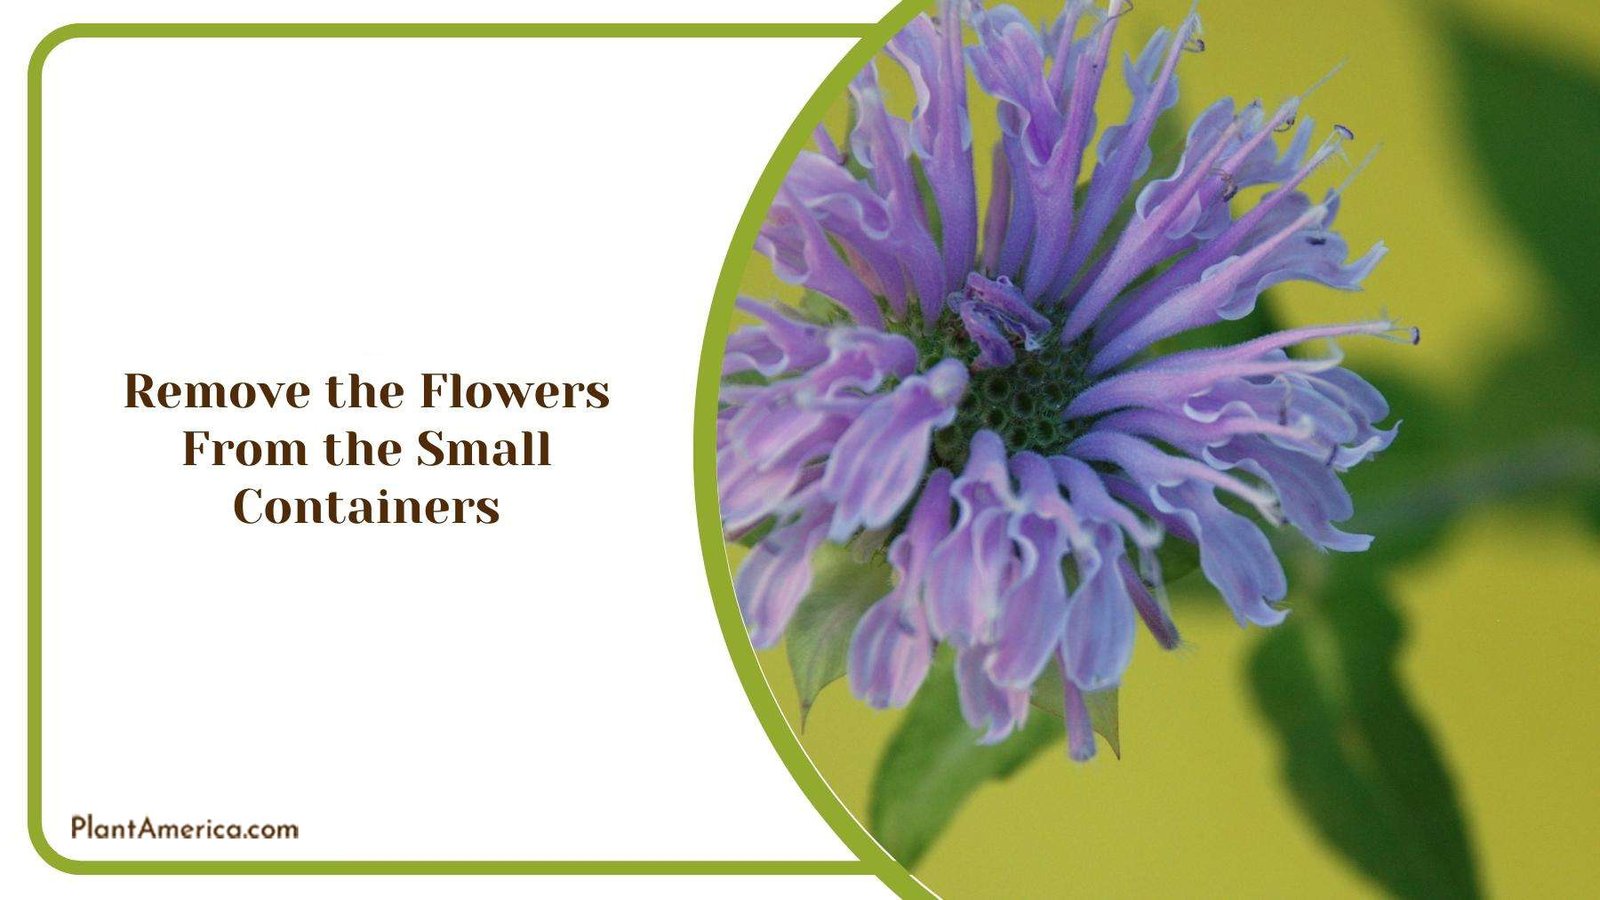
If removing the flower from a plastic container, press the container on the sides to detach the soil. You can also tap the bottom to help the root ball come out, but make sure to block the container opening at the top to protect the plant from falling off.
Once the plant comes out, divide the roots. Scarlet flowers have many roots that intertwine when grown together, and these must be separated to get many flowers. You can use a knife or small shears to divide the roots, but ensure the tools are clean to avoid transmitting diseases.
4. Plant the Flowers
Once you have separated the roots, plant them in the new pots or holes. Make a small hole at the center and place the tiny plant, ensuring it is standing straight in the container. Then, water the hole and fill it with soil. Press the soil gently to ensure the plant is secure and to block air spaces.
5. Care for the Flower
You have successfully transplanted your flower. The last step is providing bee balm care. Ensure you water the plant immediately after transplanting it. The water heals the flower from transplant shock and helps it quickly establish itself in the soil. And since these flowers are drought-resistant, you can reduce the watering frequency after they grow.
How to Transplant Bee Balm Cuttings in Water
To transplant and grow bee balm cuttings in water, start by identifying the healthy branches on the plant. Propagating bee balm is best done before the plant blooms to ensure faster growth. On the branch, cut six inches from the plant’s base, just below the leaf node.
Remove any foliage on the cuttings to direct all the plant’s energy on rooting instead of growing the leaves. Then, prepare a jug with clean water and place it near a window. Submerge two inches of the stem in the water and leave the top inches above the water.
Leave the cuttings in water for about a month for it to start rooting. The water in the jar can easily grow mold, so you should change it once or twice a week. You should also keep the cuttings near a bright window but protect them from direct sunlight, which could dry them out.
Once the flower starts rooting, transfer it to the soil. Prepare a hole in an area with suitable growth conditions for bee balm and water it. Then move the cutting in the hole, fill it with soil, water it, and let it grow. You can also use this method when learning how to transplant bee balm from cuttings.
Conclusion
Transplanting bee balm is one of the easiest gardening tasks. Start the transplant by preparing the next site, which includes filling the container with the suitable soil. Then water the tin and plant the flower cuttings.
- Transplanting bee balm is best done in early spring to allow the flower to continue growing throughout the season.
- You can grow bee balm from cuttings, but ensure you plant them in the water for rooting and then transfer them to the soil.
- When transplanting bee balms, choose a bigger container or dig a big hole to allow them enough space for growth.
Now that you know how to transplant bee balm, you can start the process immediately — just make sure to always ensure you choose a new site with suitable conditions!