
How to transplant huckleberry bushes is a great skill any homeowner would love to have. If you’ve been looking to relocate your evergreen huckleberry for a while now, then this could be the sign to do it!
Factors to Consider for Transplantation of Huckleberries
We have to consider timing, temperature, and watering, as well as other factors. Let’s check them out!
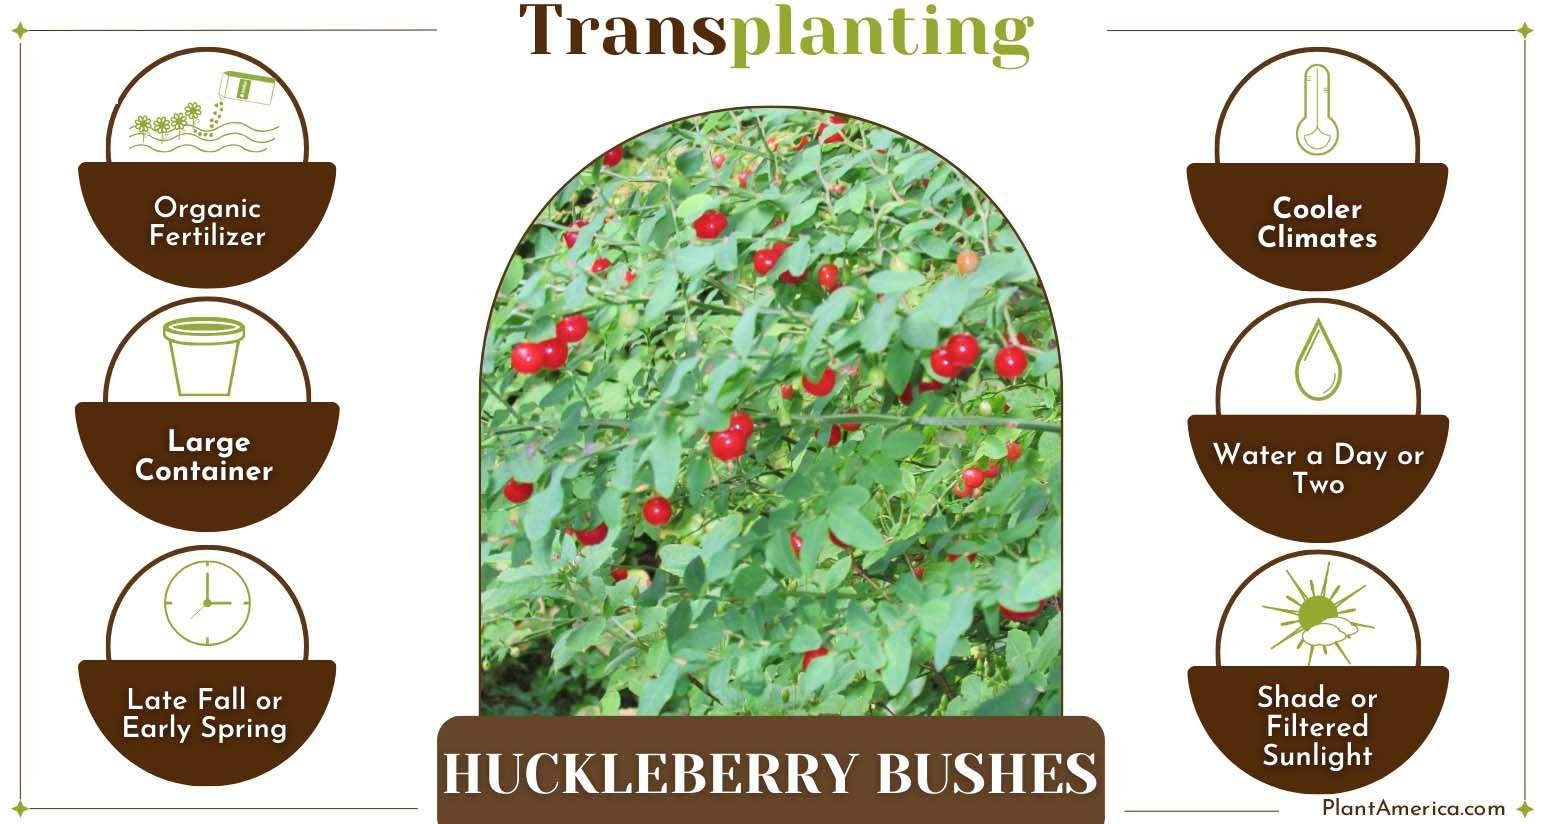
– Best Time to Transplant
Transplanting huckleberries works best when done in their dormant season, typically in late fall or early spring. This reduces stress on the black huckleberry and boosts the likelihood of successful establishment.
– Soil and Fertilization
Huckleberries thrive in well-draining, acidic soils with a pH level between 4.5 and 5.5. Use organic matter like peat moss to increase acidity, and avoid fertilizers high in nitrogen, which can harm huckleberries.
– Watering (Before and After Transplanting)
Before transplanting, water the huckleberry plant thoroughly a day or two in advance to ensure it is well-hydrated. After transplanting, continue to keep the soil consistently moist, especially during the establishment phase.
– Temperature Requirements
Huckleberries prefer cooler climates and are typically hardy in USDA zones 5 to 8. Ensure the transplant site matches these temperature requirements to support healthy growth.
Proper Pot (Potting Medium) or Ideal Spot
If transplanting into a pot, use a large container that accommodates the roots with good drainage and an acidic potting mix. For in-ground transplantation, select a well-drained site with filtered sunlight or partial shade.
– Light Requirements
Huckleberries thrive in partial shade or filtered sunlight. Avoid transplanting huckleberries into locations with intense, direct sunlight, as this can lead to stress and transplant shock.
How to Transplant a Huckleberry Bush in the Garden
When transplanting a huckleberry bush in the garden, simply prepare the plant and the new site. Once everything’s ready, you can now dig up the huckleberry bush, place it in the new hole, and then give it your best post-transplant care. Let’s dig into the details!
1. Preparing for Transplanting
Getting the right tools matters. You’ll require a shovel for digging around the roots. Also, have pruning shears handy. These shears trim excess growth. And don’t forget a large root ball. This reduces root damage during the transplant.
Another essential is the soil. It must drain well. Plus, it should match the plant’s acidity preferences.
2. Choose a New Location
Evergreen huckleberry bushes thrive in locations with partial to full sunlight. Ideally, aim for four to six hours of daily sunlight. Observe your chosen spot throughout the day, noting how sunlight shifts with the changing seasons.
Ensure easy access to water, especially in dry spells. Adequate watering, especially during the first months post-transplanting, is crucial. Consider a drip irrigation system for a consistent water supply.
Check for exposure to strong winds and late frosts. Evergreen huckleberry bushes are sensitive to frost; plant them where they’re shielded from winds and late spring frosts to protect young growth. Huckleberry bushes can grow three to six feet tall and spread. Leave sufficient space between them and other plants for air circulation, preventing disease.
Also, think about accessibility for maintenance tasks like pruning and harvesting. A convenient location will make tending to your evergreen huckleberry bush as it grows easier.
3. Prune the Bush
When pruning, begin by inspecting the evergreen huckleberry bush carefully. You should take out any dead or unhealthy branches. These not only harm the bush’s health but can also host pests and diseases that might infect the rest of the plant.
Also, think about trimming the upper growth by one-third. It may seem like a big step, but it helps the bush focus on growing strong roots, crucial for a successful transplant. When you prune, use sharp pruning shears for clean cuts and to avoid harming the remaining branches.
4. Digging Up the Bush
Begin by selecting the right tool, which is typically a sturdy shovel. Let’s begin by positioning the shovel approximately 12 inches away from the base of the evergreen huckleberry bush. Now, start digging. The objective at this stage is to create a hole that’s both wide and deep around the plant. Take your time as you work your way around, being careful not to damage the roots.
As you dig deeper, you’ll encounter the huckleberry root system. Keep in mind that these roots play a vital role in the plant’s nutrition and overall health. Treat them gently. Your goal is to lift the plant from the ground while preserving as many roots as possible. This might require some patience and precise handling.
After gently lifting the evergreen huckleberry bush and freeing its root ball from the soil, place it with care onto a tarp or into a suitable container. This not only prevents the roots from drying out but also safeguards them from potential harm.
5. Lift and Prepare the Root Ball
Once you’ve dug a wide and deep hole around the bush, it’s time to gently lift the plant from its current location. The goal here is to keep the root ball intact. It’s the mass of soil and roots around the huckleberry bush’s base.
To get this done, all you’ll require is a shovel or a spading fork. Begin by delicately loosening the soil surrounding the roots, proceeding with caution to avoid any damage to either the roots or the main stem. As you progress, you’ll notice that accessing the root ball becomes easier.
When it comes time to relocate the evergreen huckleberry bush, exercise great care. Lift it gently while providing support to the root ball from below. If possible, employ a tarp or a suitable container for transportation. This practice safeguards the roots and enhances the likelihood of a successful transplant.
6. Preparing the New Hole
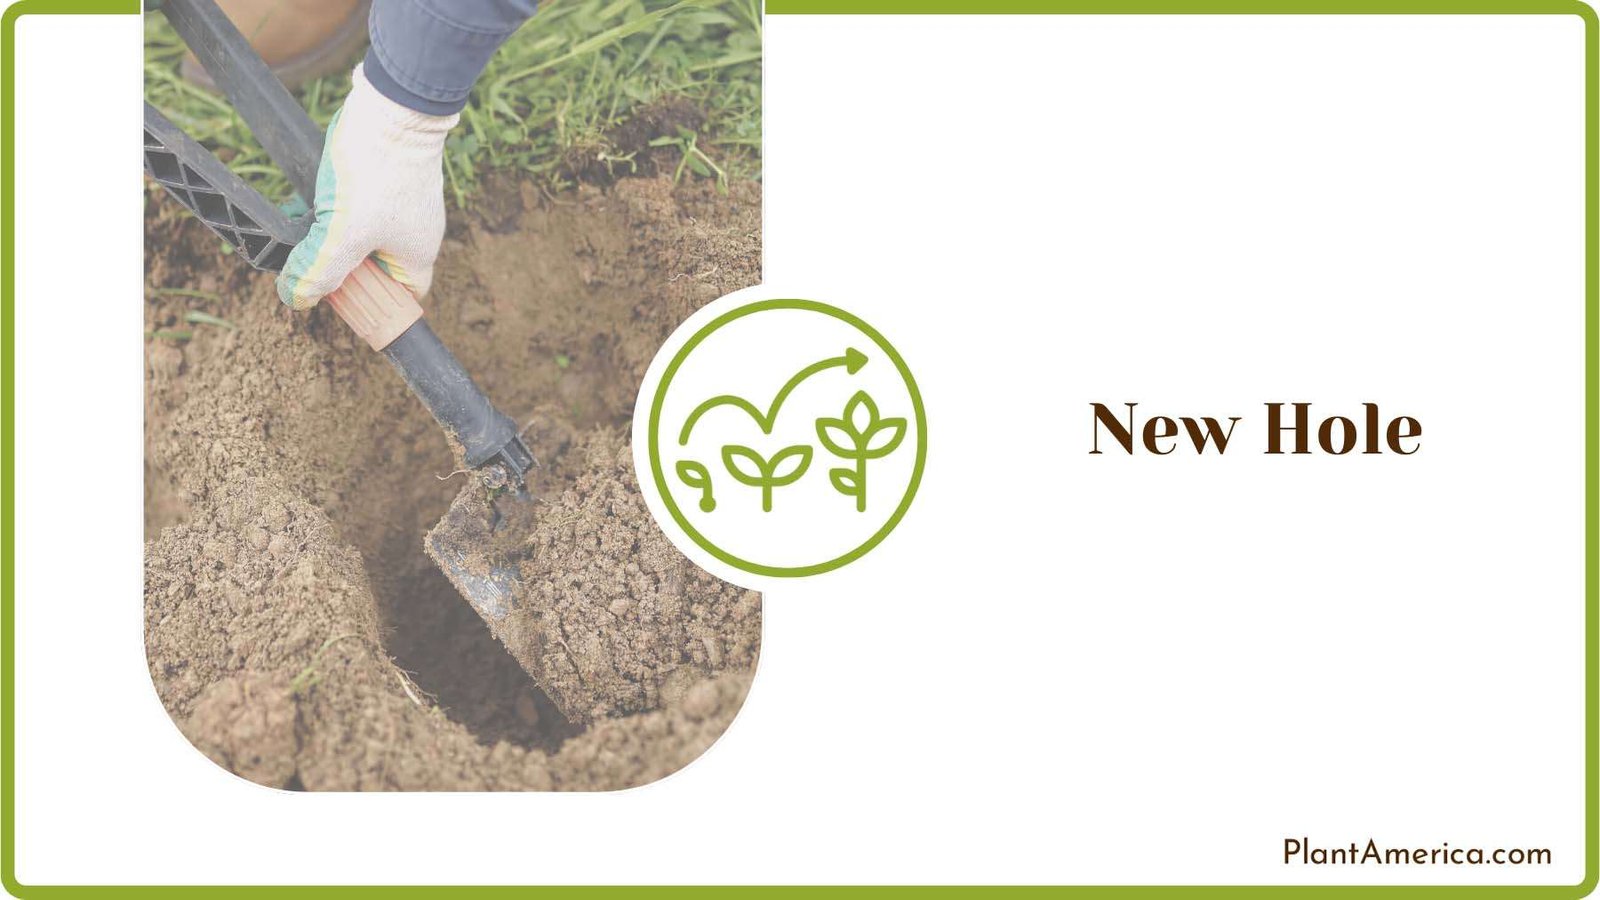
Start by digging a hole that is slightly larger than the root ball you’ve prepared. You should have some extra space when planting. It lets the roots spread out as they establish in the new spot. While digging, match the hole’s depth with the root ball. This keeps the evergreen huckleberry bush at the same level as before. It prevents sinking too deep or exposure to too much air.
To boost soil quality, mix in organic matter like compost or peat moss. The huckleberry plant likes acidic soil. These organic materials help keep the right pH and improve soil texture. On top of that, these help with water retention and provide nutrients.
7. Transplant the Bush
When placing the evergreen huckleberry bush into the new hole, take note of its previous depth. When planting a huckleberry bush, remember to keep it at the same level it was before. This keeps the roots just right, not too deep or too shallow, preventing plant stress. Place the root ball in the hole’s center, then start adding soil.
When you’re filling the hole, keep an eye out for any air gaps around the roots. These little spaces can hinder the growth of your plant’s roots and its ability to absorb nutrients. Give the soil a gentle pat down; there’s no need to exert too much force. Why? Well, the goal is to establish a sturdy and nurturing environment for your huckleberry bush in its fresh location.
8. Mulch the Soil
Applying a layer of mulch around the base of the huckleberry bush offers several benefits. First, it conserves soil moisture. This is crucial, especially when you’ve just transplanted your evergreen huckleberry bush. It keeps water from evaporating too quickly, ensuring that the roots always have the moisture they need.
Next, let’s talk about how mulch plays another important role – it acts like a natural temperature regulator. This comes in handy, especially in places where the weather can be quite unpredictable. Think of it as a protective blanket for your garden soil. It helps keep the temperature stable, protecting your plant’s roots from extreme cold or heat.
Now, onto another fantastic benefit of mulch – it’s a great way to keep those unwanted weeds at bay. It puts the brakes on their growth, ensuring they don’t compete with your evergreen huckleberry bush for vital nutrients and water. This means your huckleberry bush can focus more on growing, developing its roots, and producing healthy foliage and fruits later on.
9. Water the Soil
Immediately after transplanting, water the bush thoroughly to settle the soil and eliminate air pockets around the roots. Continue to water regularly during the first growing season. This is crucial, particularly during dry spells.

Overhead watering is best avoided since it can encourage disease and might not reach the root zone effectively. Instead, opt for a soaker hose or drip irrigation. As the evergreen huckleberry bush establishes itself further, you can begin to decrease the frequency of watering.
10. Monitor and Maintain
In the first year after transplanting, pay close attention to watering. Evergreen huckleberry bushes thrive with consistently moist soil. In dry spells, ensure they get sufficient hydration. Yet, beware of overwatering to prevent root rot.
As your bush grows, continue pruning. Remove dead or diseased branches. Thin out crowded growth for better air circulation. This promotes healthy development and curbs disease spread.
Annually, apply a fresh layer of mulch. Maintain about two to three inches thick of this magic material. Just don’t place mulch near the base to avoid rot.
Lastly, consider feeding your huckleberry bush with acidic fertilizer meant for acid-loving plants. Huckleberries grow best when they’re fed with the right fertilizer. This helps maintain the necessary soil acidity for robust evergreen huckleberry growth.
FAQs
– How Can Huckleberry Bushes Be Transplanted from Seed?
To transplant huckleberry bushes from seed, extract the seeds from the huckleberries by mashing them and separating the seeds from the pulp. Combine the seeds with a damp, clean growing medium like peat moss or perlite. Place them in a container in the refrigerator for a few months.
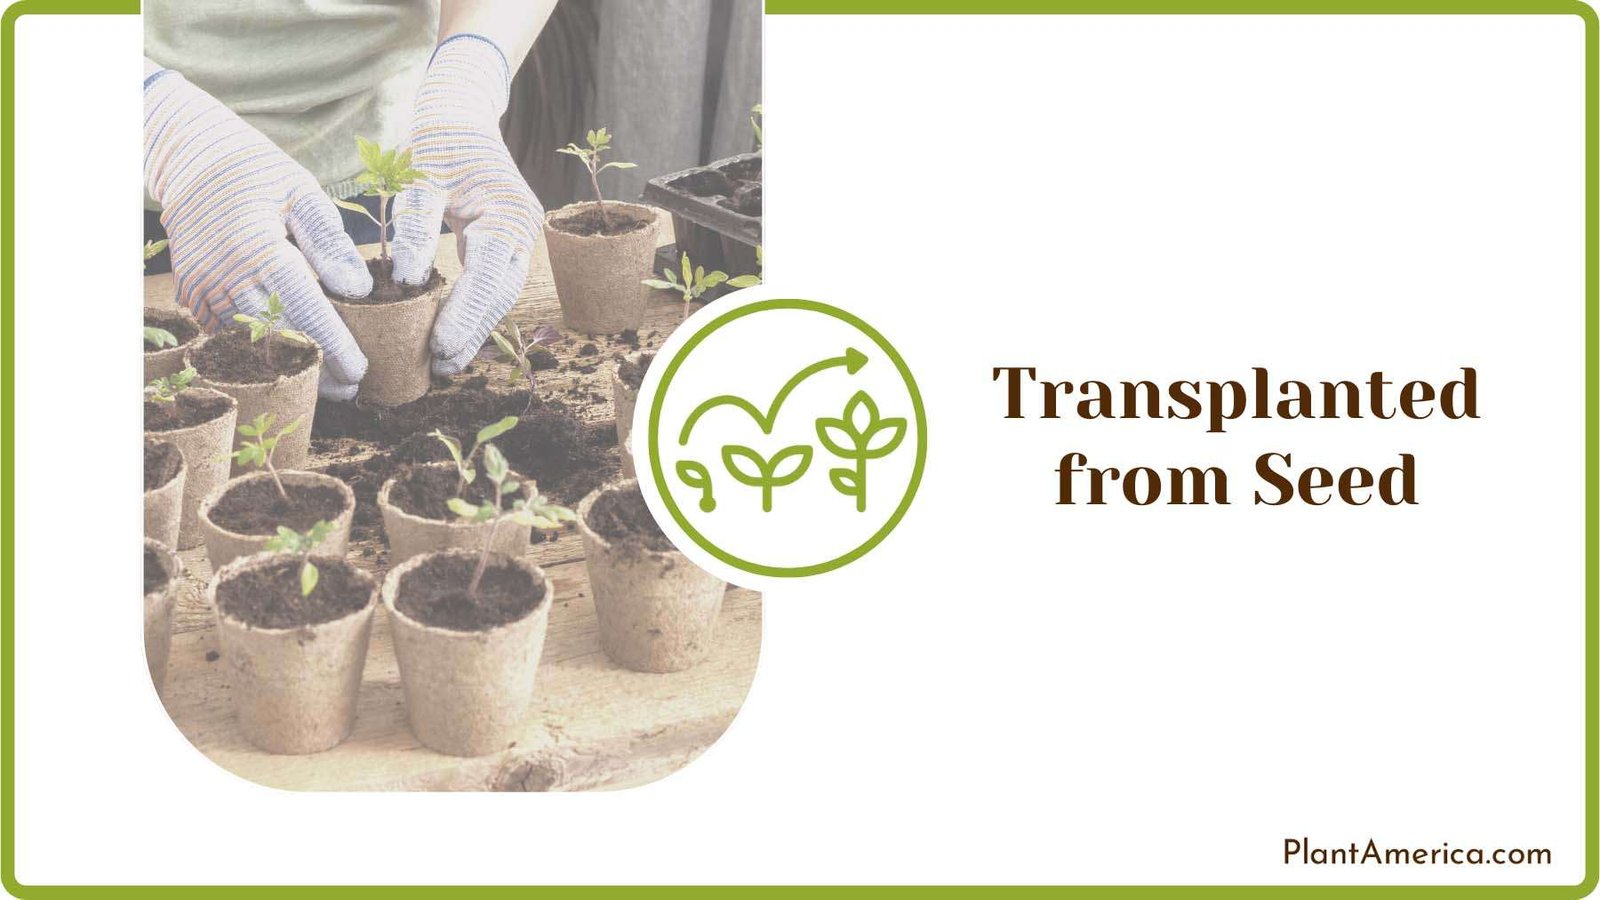
After this cold treatment, transfer the seeds to well-draining, acidic soil. Find a shaded spot for planting and make sure to maintain a steady level of moisture. Over time, your huckleberry seedlings will sprout. Later, you can relocate them to their permanent outdoor home. This process requires some patience, but it’s well worth it for a successful huckleberry garden.
– How Long Does It Take for a Transplanted Huckleberry Bush to Bear Fruit?
Transplanted huckleberry bushes typically bear fruit within about two to three years, especially when you get them from huckleberry rhizome cuttings. The plant’s main goal is to develop strong roots and adjust to its new surroundings. If you provide it with good care, you can speed up fruit production
Conclusion
Now that you know how to transplant and grow huckleberries, let’s wrap things up before we end the article:
- Transplant in late winter or early spring for the best results.
- Ensure the new site matches sunlight and soil conditions.
- Regularly prune, water, and monitor the bush for healthy growth.
- Amend the soil with organic matter and maintain acidic conditions.
- It may take a couple of years for transplanted bushes to start bearing fruit, so be patient and provide proper care.
Give your evergreen huckleberry some TLC, and pretty soon you’ll be enjoying the delicious berries when they come out!